
Hollywood Bathroom Remodeling Hollywood and nearby cities
Custom showers and frameless glass, composed like architecture
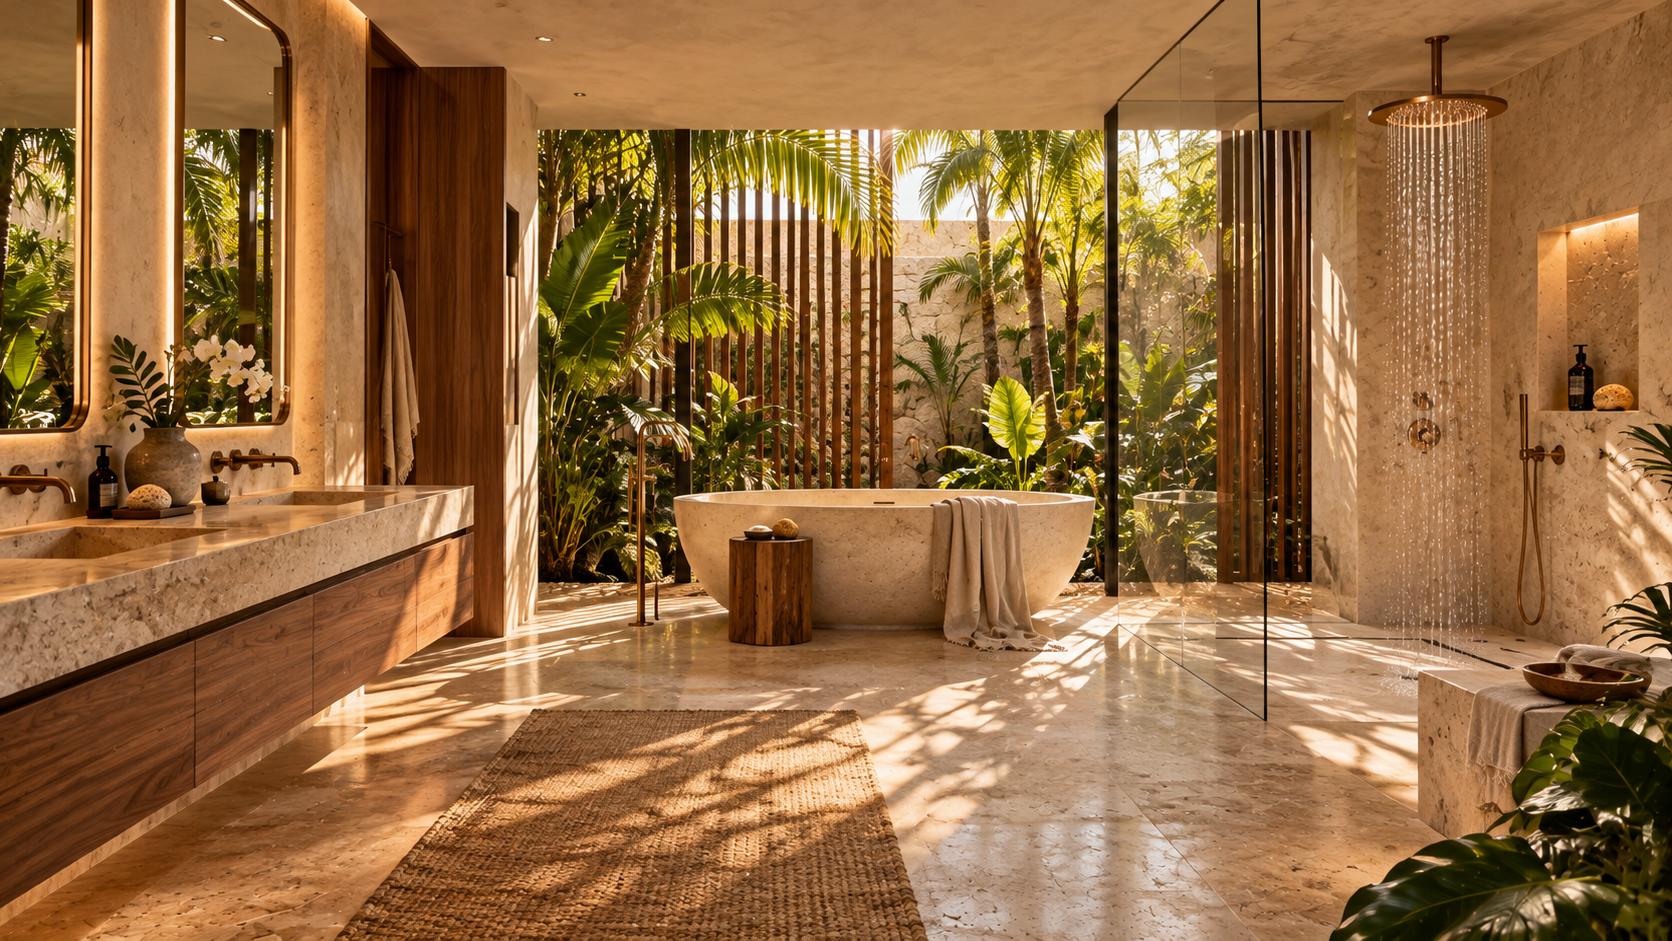
A custom shower is more than a place to rinse. It is the largest single feature in most bathrooms, and it rewards a designer who thinks about proportion, light, water and the way you step inside.
 Hollywood Bathroom Remodeling
Warm design. Clear planning.
Custom showers and glass
Treating the shower as the main feature of the room
In a well planned bathroom, the eye goes to the shower first. It holds the most tile, the most glass, the most hardware and the most daily use. When it is designed as an afterthought, the whole room feels unfinished. When it is composed with care, everything else falls into place around it.
That is the idea behind a custom shower. Rather than choosing a stock enclosure and filling it with whatever fits, we start from the space and from the way you use it. Where does the light come from? Where do you enter? What do you see from the doorway? What will you be holding while you shower, and where should it live?
Answers to those questions produce a shower with a clear logic. The glass lines up with the vanity. The niche sits at the height of the tile pattern. The bench is where it is needed, not where it happens to fit. The result feels deliberate, and deliberate rooms tend to age better than rooms built from defaults.
This page explains how we think about each decision, so that when you request an estimate you already have language for the conversation.
Geometry: choosing the footprint and the shape
Shower geometry begins with the footprint. A simple rectangle is the most common, and it is a strong choice because it is easy to waterproof, easy to tile and easy to glaze. A wider shower might include a bench along one end. A larger space might include two heads or a dedicated spot for drying off.
Some rooms allow a corner shower, where two walls meet and the glass forms the other sides. Corner designs save floor area and can leave room for a generous vanity. They also create angles that need careful tile layout and exact glass measurements, so they reward patient planning.
Shower height matters as much as shower width. A ceiling height tile run makes the room feel taller, while a stopped height tile line creates a horizontal rhythm that can feel cozy. Either approach works, but the choice affects how the glass, the shower head and the ventilation are handled.
We sketch the footprint with you in the actual room, noting where the door swings, where the windows are, and how close the shower sits to the toilet and vanity. A shower that is beautiful on paper but tight in practice is not a good design, so we check clearances before anything is chosen.
Lighting belongs in this conversation as well. A shower with glass walls borrows light from the rest of the room, and a recessed, sealed fixture made for wet locations can brighten it from above. Placing that fixture is easier when the geometry is known, so we settle the footprint first and the ceiling plan second. Our guide to bathroom lighting layers explains how the pieces work together.
Fixtures placed for use, not only for looks
Fixture placement is one of the quiet differences between a shower that is pleasant and a shower that is merely pretty. Start with the valve. If it sits on the wall you face as you enter, you can turn the water on and wait for it to warm up without getting wet. If it sits behind the spray, every use starts with a splash.
The shower head height should suit the tallest person in the home, and a rain style head can be paired with a hand shower for rinsing the walls, bathing children or washing a pet. When multiple outlets are used, the valve and diverter need planning so the controls make sense when your hands are wet and your eyes are closed.
Rough in, the stage where supply lines and drains are set inside the walls before tile, is the moment to fix fixture positions. Moving a valve after the walls are finished is a significant undertaking. Deciding early is far simpler, and we take the time during planning to confirm each position with you.
Finish and style come after position. Once the layout works, we help you weigh trim shapes and finishes so that the shower, the vanity fixtures and the other metal in the room feel related to one another.
- Place the valve where you can reach it from outside the spray.
- Set the main head for the tallest user and add a hand shower for flexibility.
- Plan any second outlet and its controls so they are easy to understand.
- Confirm every position before the walls are closed, since rough in decisions are hard to undo.
- Choose trim finishes only after the layout is settled.
Design inspiration and careful preparation.
Niches that look intentional
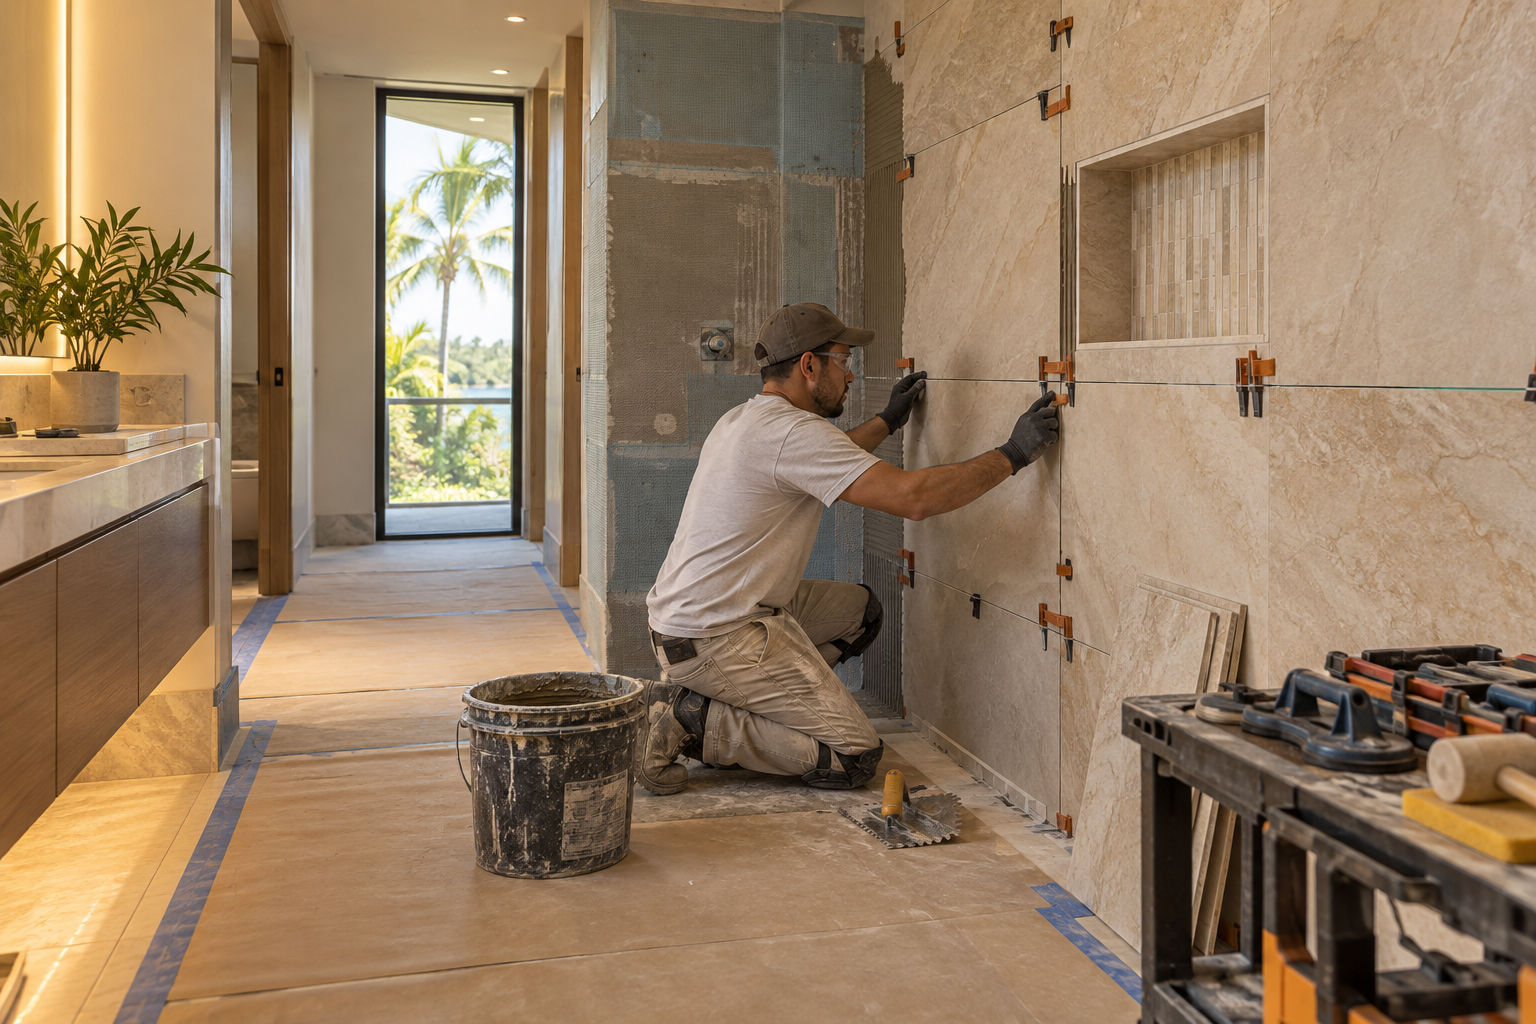
A niche is a recessed shelf built into the shower wall between studs. It holds bottles without hanging baskets or corner caddies, and it keeps the shower floor and walls clear. A good niche looks as if it were part of the original design, while a poor one looks like a hole cut in a wall.
The difference is in the layout. A niche should be sized to the tile pattern so its edges land on grout lines or on clean cuts. It should be placed at a height you can reach but away from the main stream of water, and it should have a slight slope so water does not sit inside. Some designers place it on an inside wall rather than the one with the head, so it does not catch spray.
Behind the tile, the niche is one of the places that needs the most waterproofing attention, because it has many corners and surfaces. It should be framed carefully, lined as part of the same continuous system as the wall, and finished with materials that match the rest of the shower so the whole assembly reads as one.
Placement is also a matter of habit. Someone who showers with a child needs a lower shelf, and someone who shaves in the shower may want a spot near eye level. Ask everyone who uses the shower where they set their things today, and let those answers guide the height and number of recesses. It is a small exercise that makes the finished shower feel as though it was built for you.
You can also create a longer linear niche, sometimes called a ledge, which runs the width of a wall. It gives a calm horizontal line and a place for more items, but needs a plan for framing and waterproofing like any other recess.
Benches, ledges and places to rest
A built in bench turns a shower into a small retreat. It can be a place to sit while shaving, a spot for a child, a rest for someone who prefers not to stand, or a platform to set towels and bottles. Even in a shower you never sit in, a bench adds a clean architectural line.
Construction matters here. A bench must be framed to carry weight, shaped with a slight slope so water runs off the seat, and covered by the same waterproofing system as the floor and walls. The front edge and the top corners are the most visible parts, so tile layout is planned to wrap them cleanly.
Not every shower has room for a full bench. A corner seat, a fold down seat or a simple ledge at knee height can serve a similar purpose in a smaller footprint. We look at the size of the space and the way your household bathes before suggesting a solution.
If comfort and ease of use are central, the planning notes on accessibility and aging in place improvements cover benches, grab bar blocking and entry choices, and our guide to aging in place bathroom ideas expands the thinking for the long term.
Frameless glass: what it is and why it looks different
Frameless glass uses thick tempered glass panels held by discreet hinges, clamps and channels, without a metal frame around every edge. The result is an enclosure that is nearly invisible. You see tile, light and space instead of aluminum lines, and a small bathroom can feel noticeably larger.
Tempered glass is made to break into small pieces rather than sharp shards if it is ever damaged. The thickness and the hardware are chosen to match the size of the panel, since larger panels need stronger support. These are details your installer plans, and they are worth asking about openly.
Frameless does not mean simple. Panels are cut to the actual opening after the tile is finished, so measurements are taken late and must be accurate. That is why we plan the glass as part of the shower design from the start, even though it is made and installed after the tile has been set.
Maintenance is part of the decision. Glass shows water spots, so many homeowners wipe it down after use. Some prefer a coating, and some prefer to accept a little patina. Be honest with yourself about how much care you will give it, and choose the style that suits your habits.
Seals and hardware need occasional attention too. Clear gaskets along the edges keep water inside, and hinges or clamps hold the weight of the panel every time the door moves. A good installer explains how these parts are supported and what a household should watch for over time. Ask for that explanation before you decide, so there are no surprises later and you know how the enclosure should feel in daily use.

Human from the beginning
A bathroom should fit the people who use it.
We start with the everyday questions: What feels crowded? What is difficult to clean? Where do you need more storage? What would make mornings easier? Those answers help turn a collection of materials into a room that feels natural to live with.
Tell us about your bathroomComparing glass layouts: panel, door and walk through
There are several ways to arrange the glass. A single fixed panel with an open walk through side is the most minimal, and it works well in larger showers where spray will not reach outside. A panel and door combination closes the shower fully, which helps contain steam and water.
A hinged door swings out, and needs floor space in front of the shower. A sliding door moves along a track and suits tight rooms, although it leaves a smaller opening. A pivot door rotates on a central point and can feel more architectural. Each has a different hardware footprint and a different feel in daily use.
Our comparison guide on frameless glass versus framed enclosures walks through the tradeoffs, and it is a helpful read if you are still deciding between a heavy glass look and a simpler framed option.
Whichever you choose, the glass must work with the curb or floor beneath it. A curbed shower has a base where the panel sits and a seal catches water. A curbless shower uses a different approach, usually a fixed panel with a gap and a floor slope that keeps water inside. Your entry choice and your glass choice are really one decision.
Surfaces, tile and the water system behind them
Custom showers show off tile, and tile choices deserve their own conversation. Scale, pattern, grout color and edge details all shape how the shower feels. Large format tile gives calm, continuous walls. Smaller tile adds texture and works well on sloped floors. A mix of both can be very effective when done with restraint.
Our tile installation page covers layout planning in more depth, including how pattern lines meet niches, benches and glass edges. A custom shower is full of those meeting points, so layout planning before the first tile is set saves a great deal of awkward cuts.
Behind the tile is the part that keeps the room dry. A flat substrate, a continuous waterproofing layer across walls and floor, a floor sloped to the drain, and careful treatment of seams and penetrations all work together. The waterproofing service page explains the system in plain terms.
South Florida air is warm and humid, so a shower here works in a climate that holds moisture. Good ventilation, an exhaust fan sized for the room, and surfaces that dry out well all help. We plan these as part of the whole design, not as extras.
Related projects and how a shower fits the larger room
A custom shower often anchors a bigger project. In a primary suite it may be paired with a freestanding tub or a long vanity, and our primary bathroom renovations page shows how those pieces come together. In a guest bath it may simply be the most valuable upgrade, replacing a dated tub and curtain.
If you are replacing a tub, see how the transition is handled on the bathtub to shower conversions page. If your priority is an open, easy entry, the walk in shower conversions page covers entry styles and clearances.
The shower also affects everything around it. A taller glass line changes where the vanity lighting should go. A wider shower might reduce vanity length. A bench might need a wall that was meant for storage. This is why we plan the entire room, even when the first request is only about the shower.
Homes across Broward County vary in age and structure, from single family houses in places like Weston and Plantation to condominium buildings along the coast. Each brings its own limits, and the design adapts to them.
Humidity is a shared concern across the county. Bathrooms here hold moisture for much of the year, so a custom shower should be paired with an exhaust fan that vents properly and a ceiling finish suited to damp rooms. Our guide on ventilation and humidity in Florida bathrooms explains what to look for.

Recognizable when we arrive
The Hollywood Bathroom Remodeling van and team.
Consistent branding helps homeowners know who is arriving. The same organized presentation continues inside the project, from room protection and tools to the materials and details discussed before work begins.
See our processHow we work with you on a custom shower
The process begins with you. Tell us about the bathroom, how it is used and what you want to change. We then build the project direction, which sets out scope, layout, materials and priorities. Next we coordinate the details, including surfaces, fixtures, storage, lighting and wet areas. Finally we prepare for construction, reviewing the plan and the information needed before work begins.
Custom work asks for patience at the planning stage and rewards you later. Every decision about niches, benches, glass and fixtures is made once, in the right order, and written into the plan. That clarity helps the team on site, and it helps you know what to expect.
During construction our branded team protects the work area and keeps the space tidy. Imagery on the site is concept imagery while real project photography is prepared, so the clearest way to understand what we can create for your bathroom is to describe it.
When you are ready, request an estimate and share a few details. If you live in a condominium, read our note on condo bathroom remodeling first, since building requirements vary and you will want to ask your association what applies.
Good to know
Common questions
What makes a shower custom rather than standard?
A custom shower is designed from your room and your habits instead of from a stock kit. Dimensions, entry style, niche position, bench, fixture layout and glass are decided together. The shower is built on site with a waterproofing system behind the tile, so it can take almost any shape the structure allows.
Is frameless glass hard to keep clean?
It needs regular care like any glass. Water spots show on clear panels, so many people wipe them after use. A protective coating can help, and good ventilation reduces moisture. Think about your own habits when you choose, because a style that suits your routine will stay looking good longer.
When is the glass measured and ordered?
Frameless panels are cut to the finished opening, so measurements are normally taken after tile is set and walls are complete. That ensures the panel fits the real shower, not the planned one. We build the glass plan into the project from the start so that nothing is hurried or guessed.
Can I have a bench and a niche in a small shower?
Often yes, in a reduced form. A corner seat or ledge can replace a full bench, and a compact niche can fit between studs. We measure the room, check clearances and propose what fits comfortably, rather than squeezing in features that would make the shower feel cramped or hard to use.
Do I need approval from my city or association?
It depends on your city and your building. Requirements vary, so we do not state them as facts. Ask your city building department and, if you live in a condo or community, your association what they need for plumbing, tile and glass work, and share the answers with us.
How do I begin planning a custom shower?
Use the request an estimate form on the home page and tell us about your bathroom, who uses it, and what you want the shower to do. We then build the project direction with you, coordinate the details and prepare the plan before construction begins, so you are never guessing about what comes next.
Your bathroom starts with a conversation