
Hollywood Bathroom Remodeling Hollywood and nearby cities
Shower waterproofing explained in plain language
A shower looks finished when the tile is up, but the part that keeps water out of your walls is hidden behind it. This guide explains those layers in everyday words so you can ask better questions and understand what a plan should include.
 Hollywood Bathroom Remodeling
Warm design. Clear planning.
Behind the tile
The part of the shower nobody sees
When you stand in a finished shower you are looking at tile, grout and maybe glass. All of that is the surface. Behind it is a stack of layers that decide whether water stays in the shower or slowly travels into the wall, the floor and the rooms next door. That hidden stack is what people mean by waterproofing.
Most shower problems that show up years later started behind the tile. A stain on a hallway wall, a soft spot in a baseboard, a musty smell near the bathroom door, or grout that keeps darkening can all be signs of water going where it should not. By the time they appear, the repair is usually bigger than the original work would have been.
This guide is meant for homeowners who are planning a project, not for people who want to do the work themselves. It will not teach you to build a shower. It will help you understand what is being built, why each layer exists and what to ask about before construction begins.
Florida adds its own reasons to care. Warm, humid air, frequent showers and sometimes shared walls in condos and townhomes all raise the stakes. A leak that starts in one bathroom may show up in a neighbor's ceiling or an adjoining closet, which is why careful work behind the tile is worth the attention it asks for.
Why tile and grout are not waterproofing
Tile itself resists water, but a shower wall is made of many tiles with joints between them. Those joints are filled with grout, which is a cement based or similar material that holds up well to daily use but is not a watertight barrier. Over time water can move through grout, through hairline cracks and through the edges where materials meet.
That is not a flaw in tile. It is simply not the tile's job. Tile and grout shed most of the water, and the waterproofing layer behind them catches whatever gets through and sends it to the drain. Thinking of tile as a rain jacket and waterproofing as the roof can help. The jacket keeps most of the water off, and the roof does the real work.
This is why a lovely tile choice does not tell you much about how well a shower is protected. When you compare proposals, look past the tile and ask what is under it. Our guide to choosing tile for a Florida bathroom covers the visible surface, and this page covers the unseen parts.
The substrate: the surface behind everything
The substrate is the base layer that the waterproofing and the tile are attached to. In a shower it is usually a board or a cement based panel fixed to the framing, or a formed mortar bed on the floor. It must be flat, solid and made of materials that tolerate moisture, because everything else depends on it.
Different substrates have different strengths. Some are made to take a sheet or liquid applied waterproofing layer on their face. Others are designed to tolerate water themselves but still need their seams handled with care. Your remodeler can explain which one is planned for your shower and why, and that conversation is a good sign of a thoughtful plan.
Flatness matters more than people expect. If the substrate is wavy, tile will be uneven and the waterproofing layer can end up thin or stretched in some spots. Tile setters often check walls with a long straightedge before anything goes on. Large format tile makes this even more important, since big tiles cannot bend around a dip.
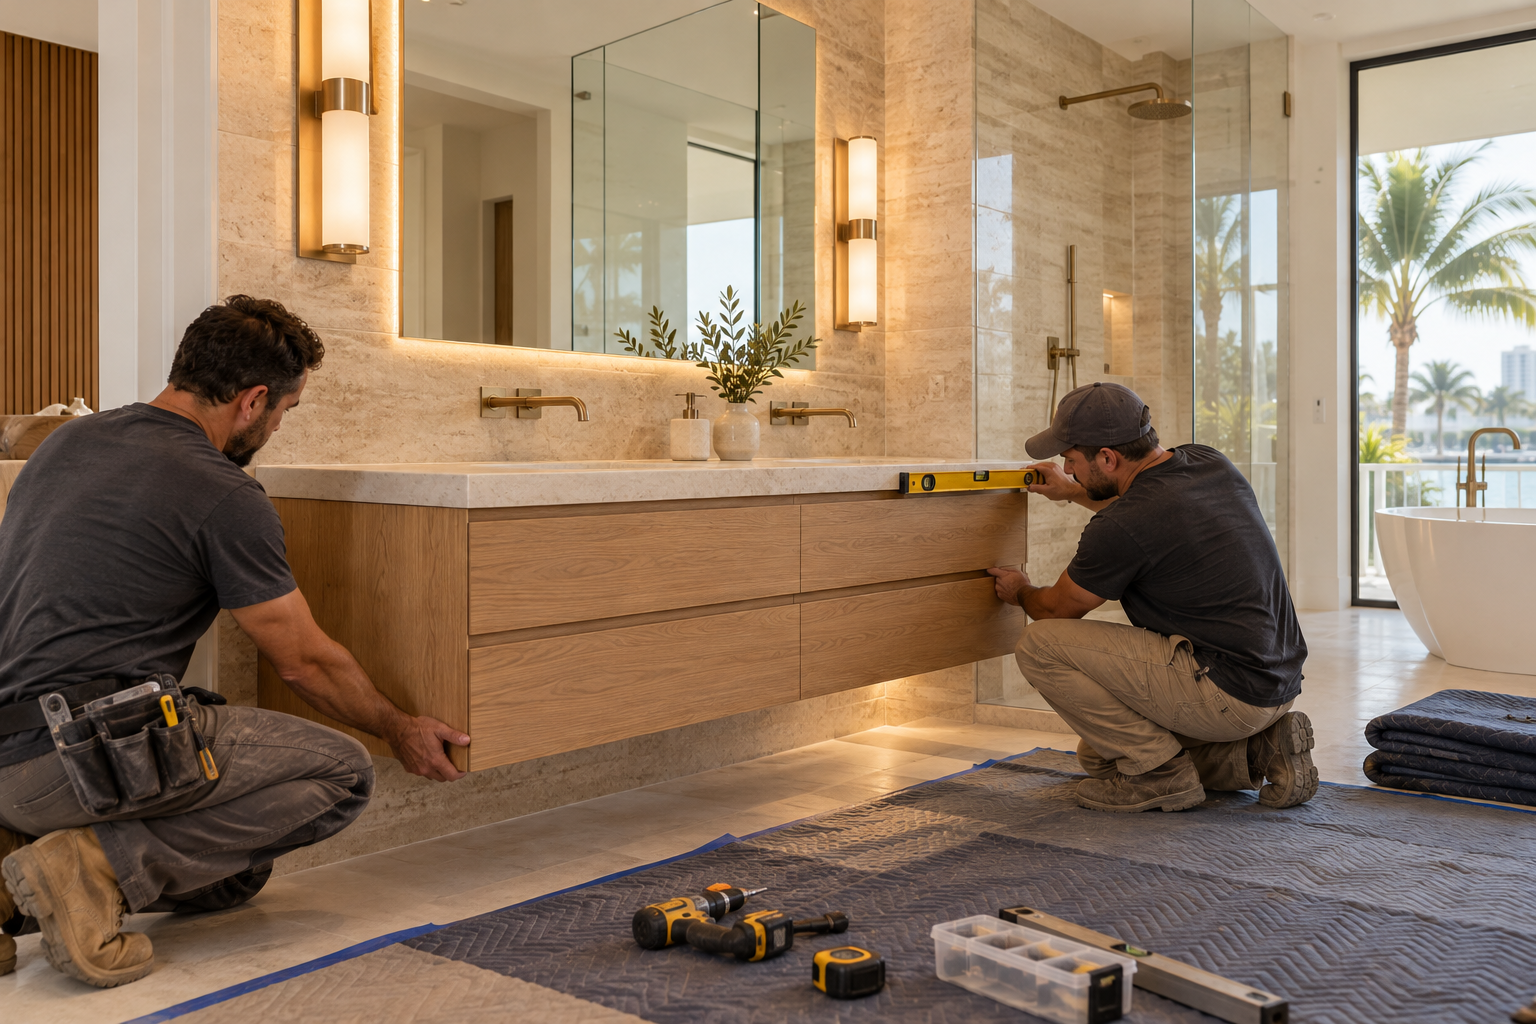
Design inspiration and careful preparation.
Membranes in general terms
A membrane is the continuous waterproof layer that covers the shower walls and floor. It comes in a few general forms. Some are sheets that are bonded to the substrate and carefully sealed at seams. Others are liquid products that are applied in coats and form a flexible skin as they cure. Both aim for the same result: a continuous barrier.
The key word is continuous. A membrane that has gaps, thin spots or untreated seams is not doing its job. The work is slow and careful at the details, such as where one sheet meets another, where the wall meets the floor and where a pipe passes through. Each of those is a place where water finds a way if it is missed.
You do not need to pick a product yourself. What you can do is ask your remodeler what type of membrane is planned, how seams and corners are treated, and how the layer is checked before tile goes on. A clear, specific answer is reassuring. A vague one is a reason to ask again. Our page on waterproofing describes how we think about this part of the plan.
Think of it like a boat hull. Nobody judges a boat by its paint. The hull has to be tight, and the paint just sits on top. A shower is no different, and a membrane that was done with patience will serve the room quietly for as long as the shower is in use.
- Ask what type of waterproofing layer is planned for the walls and for the floor.
- Ask how seams, corners and pipe openings are treated.
- Ask how the layer is checked or tested before tile is installed.
- Ask whether the same system is used throughout or if different parts use different products.
Slope to the drain
A shower floor is not flat. It slopes gently toward the drain so that water does not sit. This slope is built in layers, often with a mortar bed that is shaped before the waterproofing goes on. In many shower designs there are in fact two sloped surfaces: one under the membrane and one under the tile.
Why does this matter? Water that sits on the surface for a long time makes grout dirtier and soap residue stick. Water that gets below the tile needs a path to the drain, and a sloped membrane layer gives it one. Without that slope, trapped moisture can stay under the tile and lead to smells, staining and eventual damage.
Slope also affects tile choice. Large tiles have a harder time following a slope toward a center drain, which is why small tiles or tiles cut into smaller sections are often used on shower floors. Linear drains allow a single direction of slope, which suits large tile better. These are planning choices that your tile setter and remodeler can walk you through.
Ask also about the thickness and weight of what is going into the floor. A curbless design may need the shower area to sit lower than the rest of the bathroom, and that can mean working with the floor structure. Your remodeler should explain how that will be handled for your home specifically.
Curbs, thresholds and curbless entries
The curb is the low raised edge at the shower entry that helps keep water inside. It is built, shaped and covered with the same waterproofing layer as the walls and floor. A curb that is poorly shaped or not fully covered can leak at the corners where it meets the wall.
Some showers use a curbless entry, where the shower floor flows into the bathroom floor. This is attractive and easy to walk into, and it is popular for accessibility planning. It also demands more careful planning, since the floor must slope into the shower without sending water out, which usually means lowering the shower area or adjusting the floor structure.
Ask which approach is planned and what it means for the bathroom floor. A curbless design touches more of the room, and sometimes the neighboring area needs attention. Our pages on walk in shower conversions and custom showers and frameless glass show how these entries are designed.
Mixed materials deserve notice too. Where tile meets a glass panel, a metal trim or a window sill, the edge needs a plan so water does not sneak behind it. A short question about each edge in your design can reveal whether it has been thought through.

Human from the beginning
A bathroom should fit the people who use it.
We start with the everyday questions: What feels crowded? What is difficult to clean? Where do you need more storage? What would make mornings easier? Those answers help turn a collection of materials into a room that feels natural to live with.
Tell us about your bathroomCorners, seams and edges
Corners are the places where water is most likely to find a way in. The inside corner where two walls meet, the corner where the wall meets the floor and the edges around a window or a niche all see movement and stress. A good plan treats each of them with extra layers or reinforcing material.
Another detail is how the shower connects to the rest of the bathroom. The edge where the shower floor meets the bathroom floor, or where the shower wall meets a tub, needs a flexible joint. These joints are usually filled with flexible sealant instead of rigid grout, because the surfaces can shift slightly and a rigid material would crack.
You can see some of these details in a finished shower by noticing where the grout line turns into a caulk line. That change is intentional. It means the installer knew that a flexible seal belonged there. When you see grout cracking in a corner of an older shower, that is often a clue that the corner moved and was filled with the wrong material.
Think about shower fixtures with this in mind. A rain style shower head, a body spray or a handheld sprayer each brings more water and more directions of spray. A shower with several outlets needs a layout that accounts for splash, glass placement and the way water reaches the walls.
Niches, benches and other built in features
A niche is a recessed shelf built into the shower wall for bottles. It looks simple, but it is a hole in the wall that holds standing water. For that reason it is shaped with a slight slope outward, and its inside surfaces are covered by the same waterproofing layer as the rest of the shower. A niche that is not protected can become a weak point.
Benches add comfort and are common in larger showers. A bench is built as a solid shape, covered with waterproofing, and finished with a slope so water runs off toward the drain. The top surface should not collect water. Fixed benches look neat but need planning for framing and for the tile layout.
Other additions include shelves, grab bars and shower heads. Each one makes a hole or a fastening point in a wet wall. Planning them before construction lets the remodeler install blocking, which is solid wood placed inside the wall for fastening, and seal each penetration. Adding them afterward often means making holes in finished waterproofing, which should be avoided.
Drains and the connection to the floor
The drain is where the waterproofing layer and the plumbing meet. A shower drain is usually built in two parts. One collects water on top of the membrane, and the other connects below to the pipe. The membrane is set so that any water that gets beneath the tile can still reach the drain through small weep openings.
Drain type affects the design. A center drain is common and slopes the floor toward the middle. A linear drain, which is a long narrow channel, lets the floor slope in one direction. A drain near the wall can also work. Each has a different cleaning routine and a different layout implication, and it is useful to talk about this before you choose tile.
Whichever drain is used, the area around it deserves close attention. This is where the plumbing, the floor and the waterproofing all come together. A good installer treats the drain connection as one of the most important details in the shower, and a good plan explains how it will be done and checked.
Keep in mind that even a perfectly built shower benefits from good habits. Maintenance is simple when the structure is sound, and the shower can look new for a long time with modest care. The stronger the foundation, the less the surface has to work.

Recognizable when we arrive
The Hollywood Bathroom Remodeling van and team.
Consistent branding helps homeowners know who is arriving. The same organized presentation continues inside the project, from room protection and tools to the materials and details discussed before work begins.
See our processVentilation and everyday habits
Waterproofing protects the structure, but the room still needs to dry. Steam that lingers after a shower settles on ceilings, walls and grout. A properly sized exhaust fan that vents to the outdoors and runs long enough after each shower keeps the room fresher and protects finishes. See our guide on ventilation and humidity in Florida bathrooms for more.
Daily habits help too. Squeegeeing glass, wiping down wet surfaces and leaving the door open to let air move keeps mildew down. Gentle cleaners protect grout and sealers. Avoid anything harsh that the care instructions warn against, and ask your installer what care is recommended for your specific materials.
Keep an eye out for early signs. Grout that stays dark, a soft or bouncy tile, a musty smell or staining outside the shower are worth attention. If you notice any of them, bring in a professional to look instead of covering the issue with fresh caulk. Early attention is almost always simpler than a later repair.
Questions to ask before construction
You do not need technical expertise to ask good questions. Ask what the substrate is, what waterproofing layer is planned, how seams and corners are handled, how the slope is built and how the work is checked before tile. Ask how niches, benches and drains are protected. Ask who will be responsible for each step.
Our guide to questions to ask a bathroom remodeler includes these and more. It is also worth asking how the plan fits with your building. Requirements vary by city and by building, so ask your city building department and, if you live in a condo or association community, your association, about what they expect for wet area work.
When you are ready to talk about your own shower, you can request an estimate and tell us what you have in mind. We start by learning about your bathroom, then build the project direction with attention to the wet areas, so the part you cannot see gets the same care as the part you can.
Good to know
Common questions
Is grout supposed to keep water out of a shower wall?
No. Grout fills the joints between tiles and sheds most water, but it is not watertight. Behind the tile, a continuous waterproofing layer is what keeps the wall dry. If grout is the only barrier, water can reach the framing over time. That is why waterproofing is planned as its own step, before any tile is set.
What is a substrate in a shower?
It is the flat, solid base layer attached to the framing that the waterproofing and tile are bonded to. It can be a board, a cement based panel or a mortar bed on the floor. Its material and flatness matter because everything above it depends on it staying stable and straight.
Why does a shower floor need a slope?
The slope sends water toward the drain so it does not sit on the surface or collect beneath the tile. It is built into the floor in layers, often in two places, one under the membrane and one under the tile. Without proper slope, moisture can linger and cause staining, smells and damage.
Are curbless showers harder to waterproof?
They need more planning because the floor must slope into the shower while keeping water from leaving it. This often involves adjusting the floor structure and carefully designing the drain location. Done thoughtfully they are an excellent option. Ask your remodeler how the transition will be built and how the neighboring floor is protected.
How can I tell if my shower is leaking behind the tile?
Warning signs include grout that stays dark, loose or soft tiles, a musty smell, stains on nearby walls or ceilings below, and peeling paint outside the shower. None proves a leak alone. If you see these signs, ask a qualified professional to take a look instead of only adding fresh caulk.
Can I add a niche or a bench after the tile is done?
It is far better to plan them before construction. A niche or bench needs framing, a slope and a continuous waterproofing layer that wraps around it. Cutting into finished tile and membrane risks creating a weak point. Decide on these features early so the shower can be built around them.
Your bathroom starts with a conversation